Установка:
apt update && apt upgrade
apt install rclone -y
Для авторизации на Yandex требуется установка на локальный компьютер с доступом в интернет.
Запускаем мастер настройки конфигурации rclone config:
rclone config

No remotes found - make a new one
n) New remote
s) Set configuration password
q) Quit config
n/s/q> n

name> yadisk # Придумываем имя

Type of storage to configure.
Choose a number from below, or type in your own value
 1 / Alias for a existing remote
   \ "alias"
 2 / Amazon Drive
   \ "amazon cloud drive"

 ...

23 / Yandex Disk
   \ "yandex"
24 / http Connection
   \ "http"
Storage> 23 # Выбираем Yandex Disk

Yandex Client Id - leave blank normally.
client_id> # Оставляем пустым

Yandex Client Secret - leave blank normally.
client_secret> # Оставляем пустым

Remote config
Use auto config?
 * Say Y if not sure
 * Say N if you are working on a remote or headless machine
y) Yes
n) No
y/n> n

For this to work, you will need rclone available on a machine that has a web browser available.
Execute the following on your machine:
	rclone authorize "yandex"
Then paste the result below:
result> # Здесь необходимо вставить данные с компьютера
Не разрывайте SSH-соединение с сервером. Откройте новое окно оболочки командной строки на локальном компьютере. Перейдите в папку с распакованным файлом rclon и выполните команду:
rclone authorize "yandex"

If your browser doesn't open automatically go to the following link: http://127.0.0.1:53682/auth
Log in and authorize rclone for access
Waiting for code...
Откройте в браузере http://127.0.0.1:53682/auth если этого не произошло автоматически.
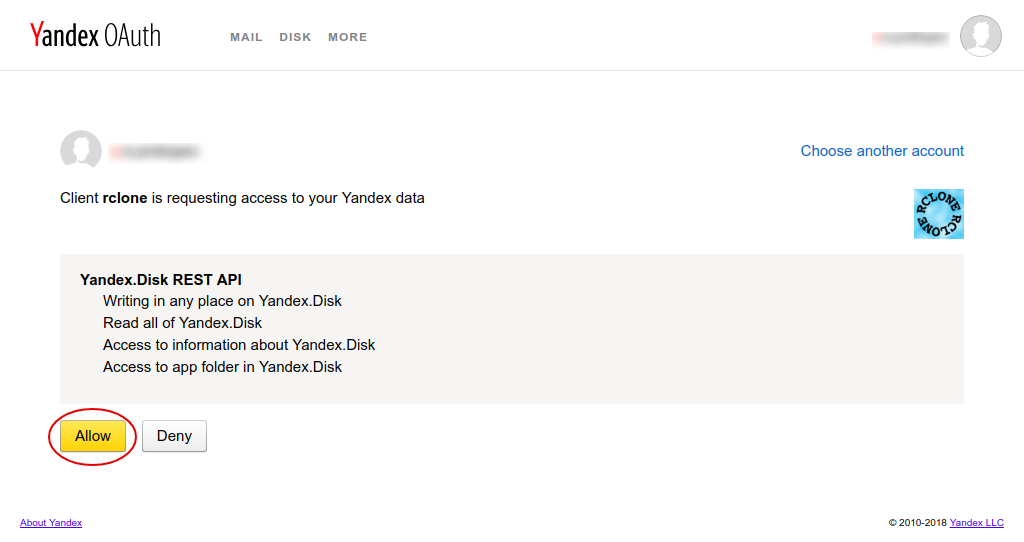
На специальной странице Яндекса разрешите доступ к Яндекс.Диску приложению rclone, нажав на кнопку Allow.
После этого снова возвращаемся в оболочку командной строки и копируем Ctrl+Shift+C появившийся json объект:
...
Got code
Paste the following into your remote machine --->
{"access_token":"AQAAAA...hlXXPE","token_type":"bearer","refresh_token":"1:jIvyMr...cn589PQyfw","expiry":"2019-08-07T12:37:22.149859353+06:00"}
Вставляем Ctrl+Shift+V скопированный json объект в консоли удаленного сервера:
...
Then paste the result below:
result>
{"access_token":"AQAAAA...hlXXPE","token_type":"bearer","refresh_token":"1:jIvyMr...cn589PQyfw","expiry":"2019-08-07T12:37:22.149859353+06:00"}

--------------------
[yadisk]
type = yandex
client_id =
client_secret =
token = {"access_token":"AQAAAA...hlXXPE","token_type":"bearer","refresh_token":"1:jIvyMr...cn589PQyfw","expiry":"2019-08-07T12:37:22.149859353+06:00"}
--------------------
y) Yes this is OK
e) Edit this remote
d) Delete this remote
y/e/d> y

Current remotes:

Name                 Type
====                 ====
yadisk               yandex

e) Edit existing remote
n) New remote
d) Delete remote
r) Rename remote
c) Copy remote
s) Set configuration password
q) Quit config
e/n/d/r/c/s/q> q
На этом настройка завершена. Для проверки посмотрим содержимое Яндекс.Диска. Данная команда выведет список всех файлов и папок:
rclone ls yadisk:/